Step 1: Open Mac Mail and select Mail > Preferences. (In some Mac computers Mail is already available and you can proceed with Step no. 3.)
Step 2:??In the new window that appears, click the Accounts tab in the top menu bar and then click the plus (+) symbol in the lower-left corner.
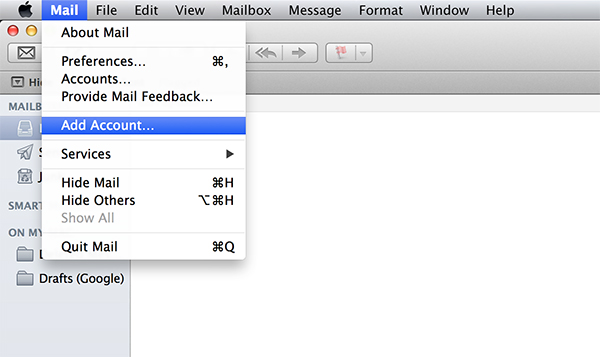
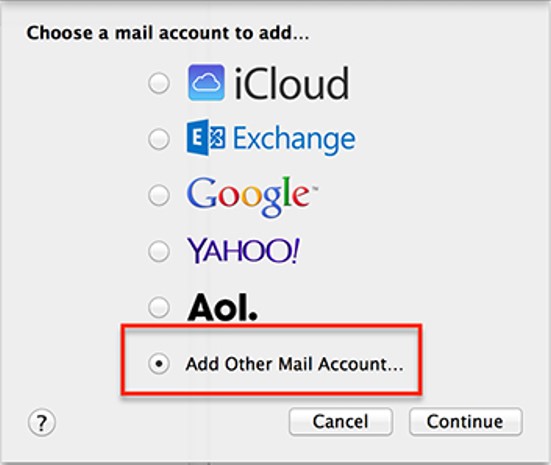
Step 3:??Select Add Other Mail Account > Continue.
Step 4: On the Add a Mail Account page, enter the following information:
-Full Name: this is the display name your recipient will view through your sent messages.
-Email address: your full Quape email address
-Password: your email password
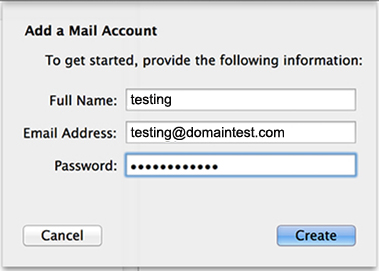
Step 5:??Click Create. A message??prompt will appear wherein you may need to enter the information manually.
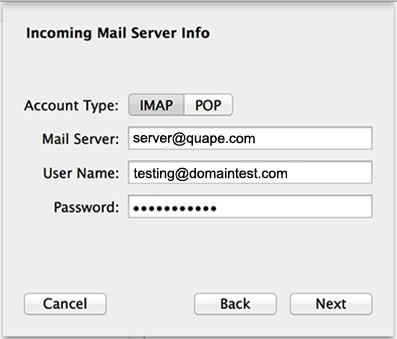
Step 6: Click Next and on the Incoming Mail Server Info page, enter the following information:
Account Type ??? Select IMAP/POP.
Mail Server ??? Enter in the secure server name: (e.g. server.quape.com)
User Name ??? your full quape email address
Password ??? your email password
Step 7: Click Next, and on the Outgoing Mail Server Info page, enter the following information:
Mail Server ??? Enter in the secure server name: (e.g. server.quape.com)
User Name ??? Enter your full quape email address
Password ??? your email password
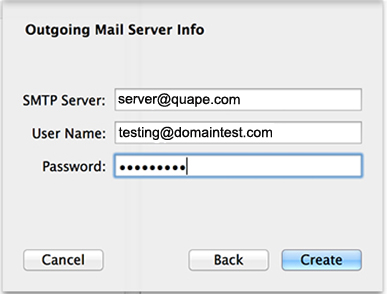
Step 8: Click Create. Mac Mail creates the account.
??
If you need assistance or have any further enquiries, feel free to contact our support team.


